Home of the premium GB brand of auto-electrical devices and components
GB Direct Online
*prices & stock are subject to change without notice
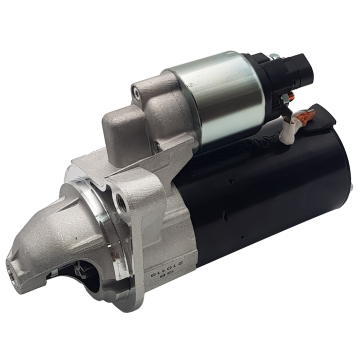
Starter motor, Fiat Panda - Palio - Punto - Siena 1.2L - 1.3L Diesel D6G, 12V, 1.3KW, 9T
Starter motor, Toyota D4D Hilux / Land Cruiser / Fortuna / HiAce / Quantum 2.5L-3.0L, 12 volt, 9 teeth, bosch-type, diesel - STR1246
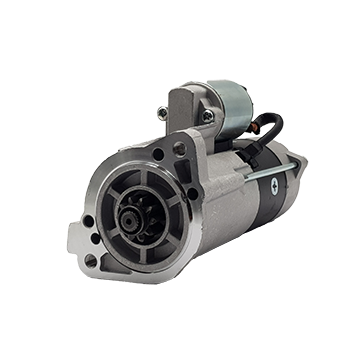
Starter motor, Mitsubishi Pajero 2.8L diesel / Mercedes-Benz A170 CDi / Colt 2.8D, 12 volt, 10 teeth - STR5118
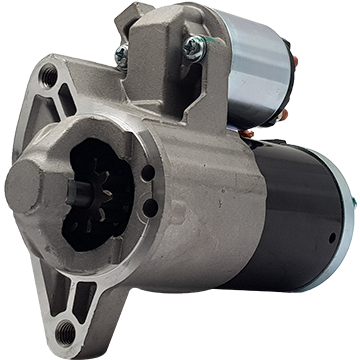
Starter motor, Jeep, 12 volt, 10 teeth - STR5310
Starter motor, Mahindra Scorpio 2.6L / Bolero 2.5L, 12 volt, 9 teeth - STR1250
Starter motor 12Volt 9Teeth Lexus Ls400 - STR6133